
Your shopping cart is empty!
 888-670-6790English & Spanish
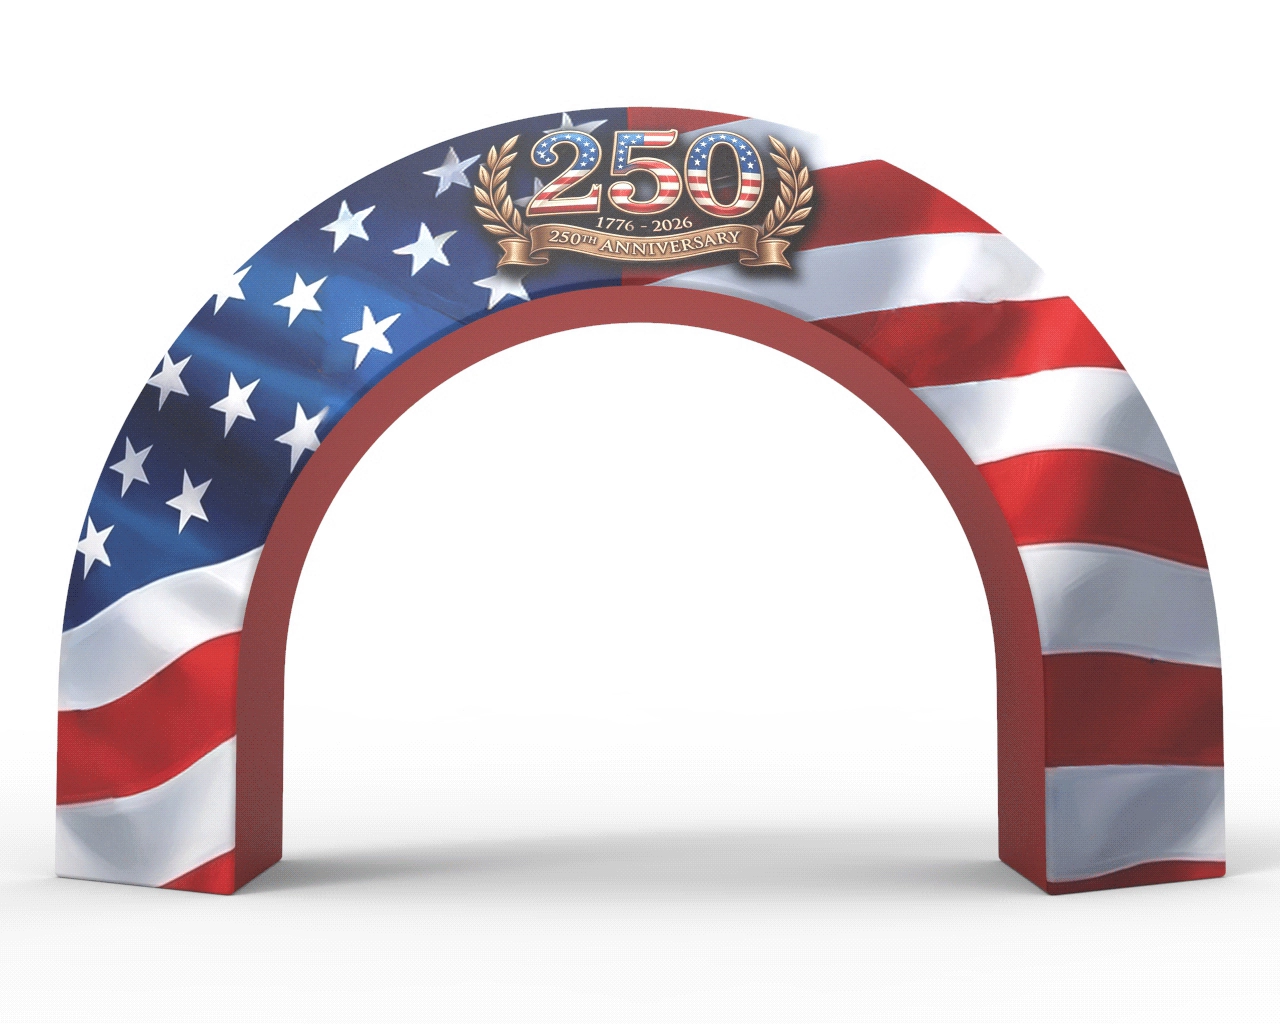
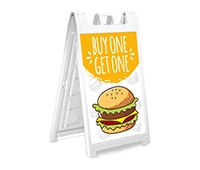
10 x 10 canopy tents for parties, beach rallies, trade exhibitions, and gatherings are prevailing and are perfect. For all types of events and occasions, 10 * 10 bespoke canopies are dependable. The massive canopy is entirely digitally printable. Simple logos may be published quickly, or our graphic designers will help you build a stunning 100% bespoke canopy if you want anything with a Wow factor. We use professionally imported tin and high-duty fabrics to ensure you get a 10*10 branded tent with a long life.
The
tents are top-rated for stakeholders, fairs, gatherings, showers, or other
events; they are suitable for indoor and outdoor events. Depending on
individual tastes, you could even order a custom canopy tent. If you're
throwing a corporate party, you can order the company logo to be printed
digitally.
Owner
of a small food company or a roadside stall? The canopy tents are ideal for
you. Graphic artists are accessible who can assist you pick the best styles to
add that extra wow factor to the overall look of the tent.
Signleader
Display
is a renowned company dealing with the printing of customized products. If you
want to buy a 10 * 10 personalized tent, please visit our website and design
your tents.
A
custom tent comes in a pack with stakes either on the side or on the
back.
You
must ensure there is a roadblock between the tent and the ground before the
whole process begins. Put your custom canopy tent on a plastic sheet or
anything to prevent any moisture. Especially when you set up a tent in a grassy
or muddy area, defend the tent from making a mess.
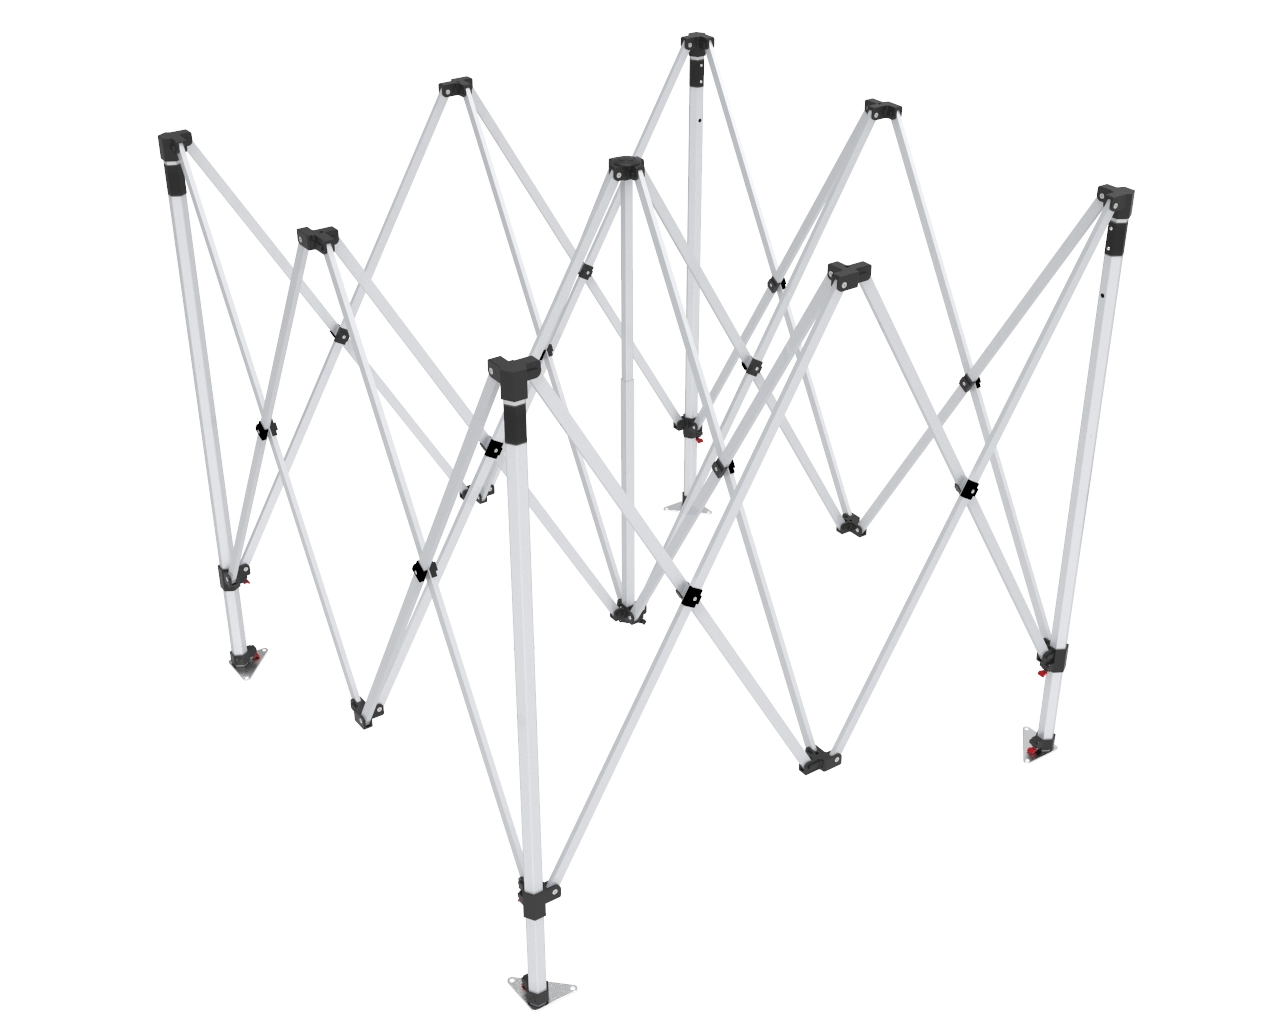
Once
you have your tent out of the bag, two to three people will make the set-up.
You will have to cooperate appropriately with others to help. The people on the
other side grab the poles and pull them out.
Take
it out and open as much as possible, and you'll come to the corners and raise
it. Then go to the other side and take it from that area. Return to the corners
to pull out the custom canopy tent.
After
the custom canopy tent is entirely open, it is necessary to push all four corners
till the latch latches in. Do this carefully on both sides to guarantee the
tent's safety.
If
you have a 10*10 canopy tent on a concrete surface, weigh it down with a
sandbag. Use the tent pegs to put them on the four legs if placed on the grass.
Then remove the pins from the four corners and lower the legs. Take the same place you used to draw the tent out and bring it closer. Have a person hold the tent, and the other person places the sack over it.
I
hope that this guide will assist you in setting up your canopy tent. It's not that hard; the tent is put up in no time with the
proper personnel and the correct coordination.


Comments (0)