
Your shopping cart is empty!
 888-670-6790English & Spanish
Canopy tents are the best options for
outdoor activities to protect and keep privacy. Adventurists love canopy tents.
Canopy tents come in versatile designs, sizes, and accessories that make them
suitable to use.
You can quickly move them to a different location and can install them anywhere when need. But it is also essential to install them correctly. If you are new to that, then my below content will assist you in learning the installation of a custom canopy tent.
Steps to install a canopy tent?
It is not a complex job, but it will become easier for you to install canopy tents quickly and perfectly if you follow the step-by-step procedure.
First of all, remove all of the stuff from the custom tent from the box. When you are taking out all the components, make sure everything is accurate as you have ordered.
It is better to place everything on a table
or a flat floor, count it separately, and ensure that no component is missing.
You do not need to hurry; you may damage the parts; read the instructions if
you see items are packed in special boxes.
Before all components, first, you should prepare legs for the canopy tent standing out. Check the length of legs should be accurate as your canopy tent sizes such as 10x10 canopy tent or any other measure.
Pull all the legs apart and make sure there
is a difference of 12 inches between each leg, do not minimize the distance to
increase the length; otherwise, it may fall.
The next step is about putting the roof on the Top. Put the roof material of your customized canopy tent on the frame's top and attach it properly. Follow the instructions from the instruction guide because there may be some differences according to your brand and model. If you picked a canopy tent from some quality brand like Signleader Display, it would be easier to attach because they make friendly assembling tents.
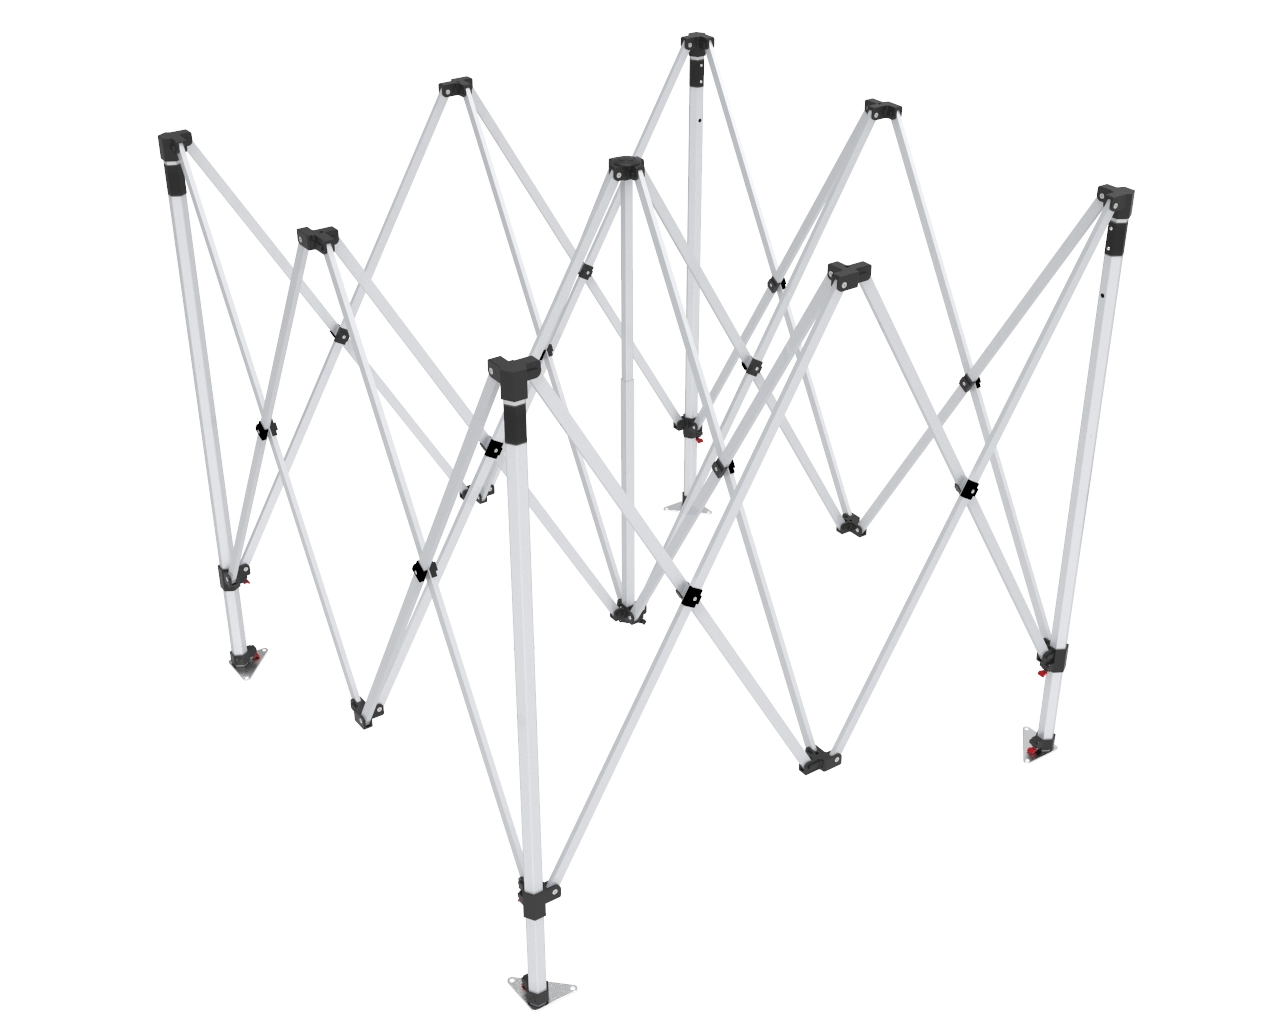
Now you will need to raise the frame; frames come with bracket features to keep the canopy tent tightly secured. You should try to raise the frame in a balanced way that ensures the excellent and balanced standing of the frame. Once you have raised the frame, insert each leg inside the frame until you hear the locking sound.
In that step, you need to raise customized canopy tent legs. You will see four to six holes in each leg designed to assist the user in adjusting to get the required height. You can raise the height by adjusting it one hole up in the leg. Repeat the process for each leg and ensure that each leg is adequately secured and is balanced. Also, check the height of the canopy; it should be identical from each leg side.
The final step is to check everything in one go to ensure that canopy, frame, and legs are properly secured and balanced and there is no loose portion.
A custom canopy tent is suitable for adventurists and tourists to protect them from weather effects and maintain secrecy. But for proper functioning, it is also essential to install the tents appropriately. You can easily install the canopy tent by following our above guidelines.


Comments (0)