This is telling us how to use our template to create a unique design quickly. Just six steps to complete it.
Step 1: Select a product and options then enter the online design tool.
Step 2: Select one of the templates.
Step 3: Edit the templates.
a: Upload logo: Upload a logo in the logo area, use the move, resize and rotate functions to adjust the image until it is fit.
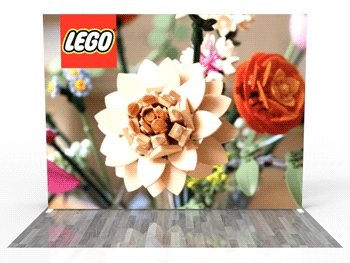
b: Upload a photo: Upload a photo, then double click to edit it if necessary.
c: Enter the slogan in the designated area; change font settings such as font color.
d: Enter the company name; change font settings such as italic.
e: Enter the telephone number; change font settings such as bold.
f: Enter the telephone number website; change font settings such as align left.
Now the front side artwork has been completed.
Step 4: Design the back side artwork if chosen a double-sided product.
a:Use the copy function to copy artwork from front side.
b:Use the mirror function to reproduce artwork from front side.
c: The difference between copy and mirror:
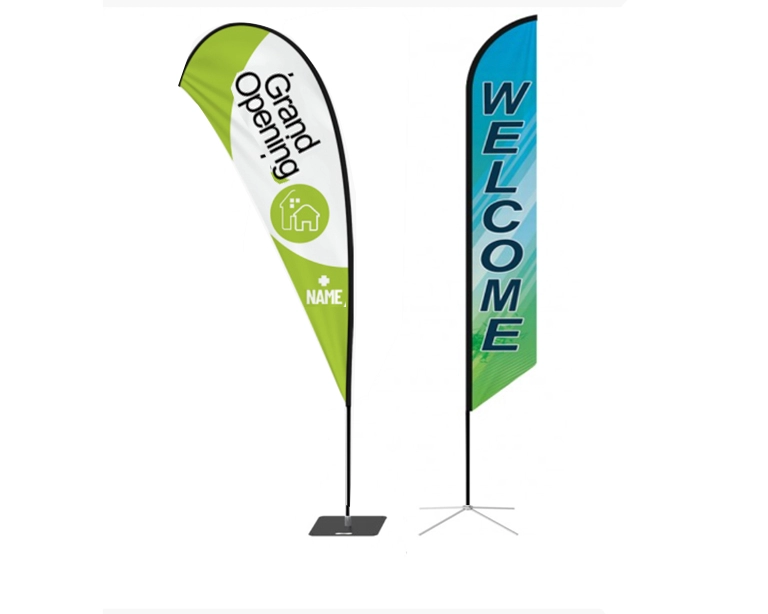
For regular graphics like square and rectangle, copy and mirror are both recommended; please choose one of them according to your needs. Moreover, irregular graphics like feather flag and teardrop flag is often used mirror.
Step 5 Check for artwork:
a: Text size is legible, and color stands out against the background.
b: All the text and images are overlapping or too close to the margins.
c: All information is accurate and spelled correctly.
d: Use the zoom-in function gradually adjust to 300% to check images are clear and do not appear blurry.
Step 6: Previewed artwork and check out.

 888-670-6790English & Spanish


Comments (0)